One of the first classes I took at the San Francisco Center for the Book was to make an accordion spine book with a hand-debossed (recessed) panel in each page. For that class (taught by Howard Munson) we made collages to put in the debossments. I’ve used this debossing technique many times since then, mainly for cards but most recently for my newest set of broadsides. It’s a much more elegant way to display artwork or photographs than just gluing them onto the paper.
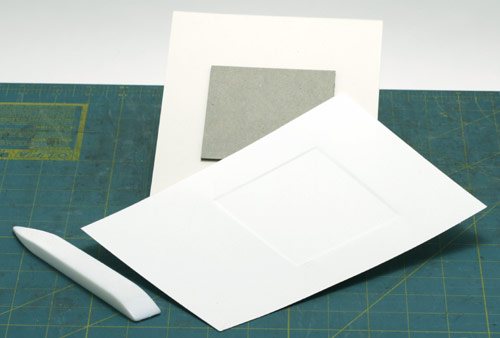
![]() To make a hand-debossed panel, you’ll need a bone folder and a piece of davey board (or something that is about 1/8″ thick) cut to the size of the panel. The paper to be debossed should be thick and soft (for instance Somerset or Rives). I make a jig by cutting a piece of card stock to the size of my paper, figuring out where the debossed panel should be located, and attaching the davey board there using double-stick tape. (You can see the jig in the photo below.)
To make a hand-debossed panel, you’ll need a bone folder and a piece of davey board (or something that is about 1/8″ thick) cut to the size of the panel. The paper to be debossed should be thick and soft (for instance Somerset or Rives). I make a jig by cutting a piece of card stock to the size of my paper, figuring out where the debossed panel should be located, and attaching the davey board there using double-stick tape. (You can see the jig in the photo below.)
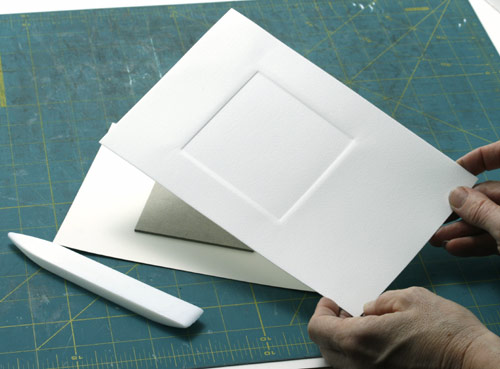
Now I lay my paper over the jig, lining up the edges at the top and side. I put a piece of double-stick or rolled tape on the davey board, so that once I’ve lined everything up, I can tack the paper down so it won’t move. To start the debossment, using my fingers, I carefully press the paper against the sides of the davey board. Then, using my bone folder, I work the paper against the davey board. This molds the panel into the paper. Do this slowly at first, as it’s easy to tear or mark the paper. Pay careful attention to the corners.

When all the sides and corners have been worked equally, I’m done.
thanks for sharing =)
thank you 4 sharing…I can use any tips I see
Now, why didn’t i think of this? Thank you, thank you!