 Only 2 things got lost in our move from California to New Mexico, a box of Christmas ornaments and my bookbinding steel rule set. I used the rules as guides for evenly spacing out boards or accordion folds. I keep meaning to get a new set, instead using some inferior replacements I made from Davey board.
One of the readers of this blog, Karen, reminded me that I still haven’t replaced the steel ones when she sent me steps to make the Fishbone Fold without calculating the folds beforehand, but rather doing the measurements on the fly. Either way will work, just really depends on your temperament, I suppose.
Here’s the second method. (The first method is here.)
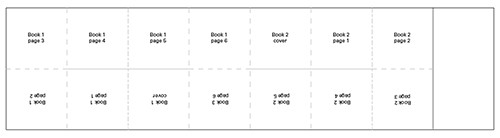
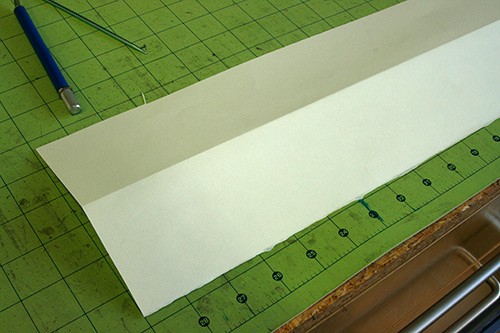
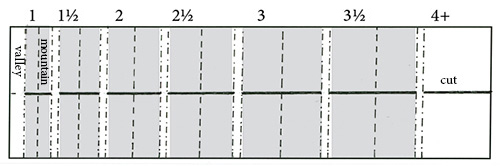
I used a long piece of Arches text wove, 30″x6″ (see the previous post for measurements using smaller paper). In the finished book, the first “bones” will be 1″ wide and the spine sections between bones will be 1/2″ wide.
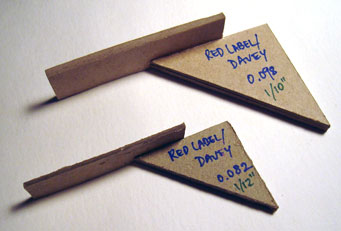
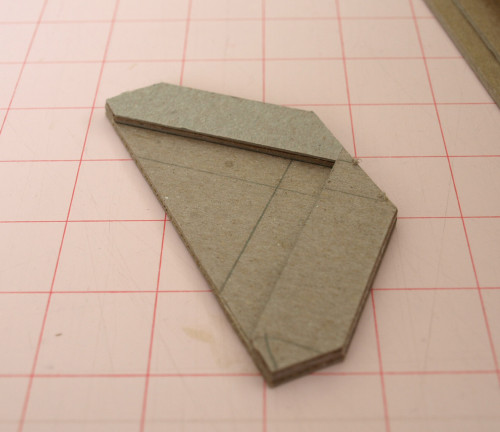
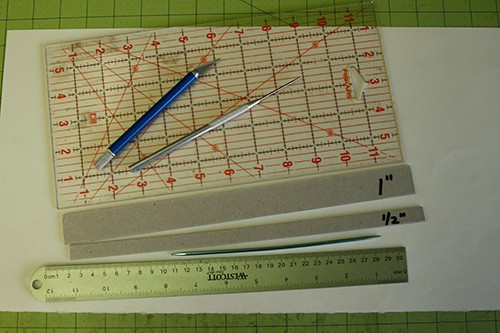
I also assembled these tools: a metal straight edge, an xacto knife, an awl, something to score with (I use a thick knitting needle), 2 template rulers made of Davey board or other stiff thick paper: one the width of the first fold (I used 1″) and the other the width of the spine between the bones (I used 1/2″), and my see-thru quilting ruler. The quilting ruler is not necessary, but I’ll show how I use it later on.
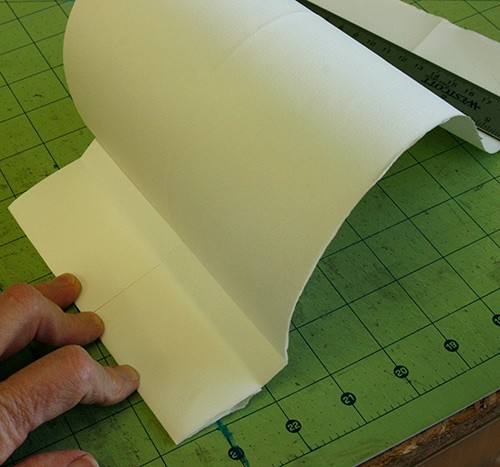
Fold the paper in half, long edge to long edge. Open it up and lay it flat.
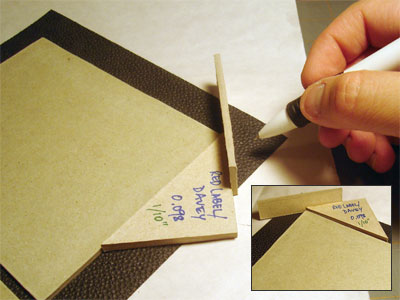
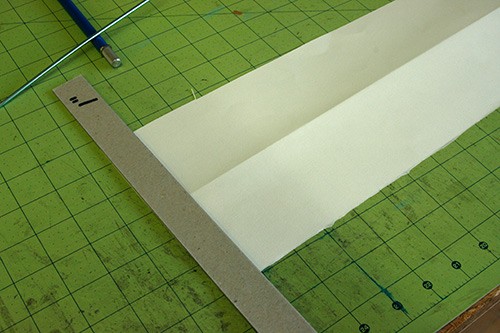
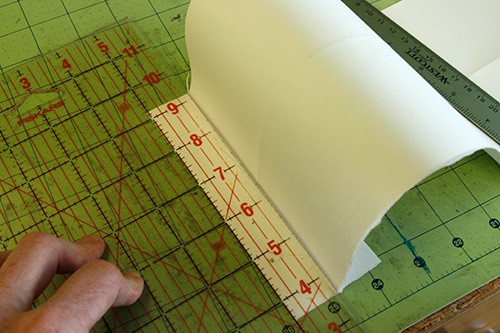
Make the first 3 folds. Lay the 1″ template ruler at the left edge of the paper. Score along the right edge of the template ruler and make a valley fold.
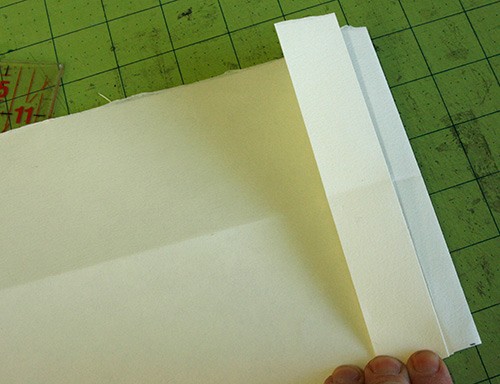
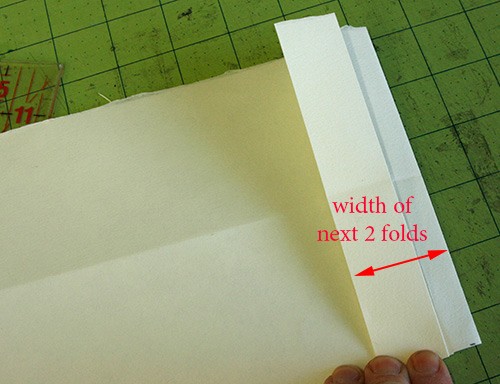
Accordion fold twice more, the same width as the first fold.
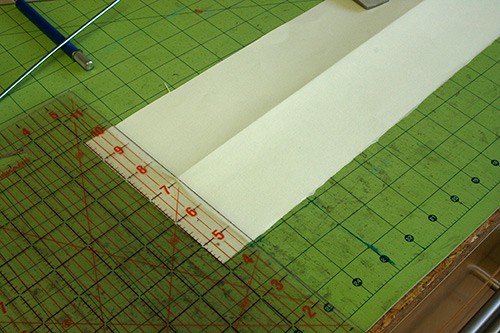
An alternative is to use a see-thru quilting ruler instead of the Davey board template, as it lets you see the edge of the paper. My ruler is over 15 years old, and the plastic on the edges is too dinged to use for cutting. But it’s perfect for these sorts of measurements.
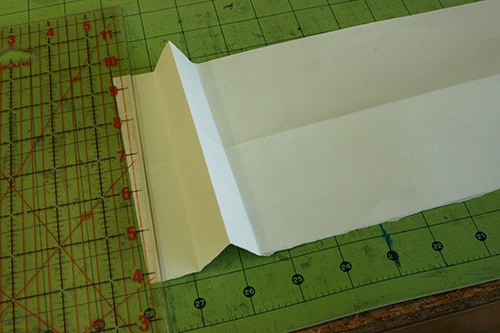
If you don’t want to score to make the fold, you can also use the edge of the ruler or template as a guide and fold the right edge of the paper up to it
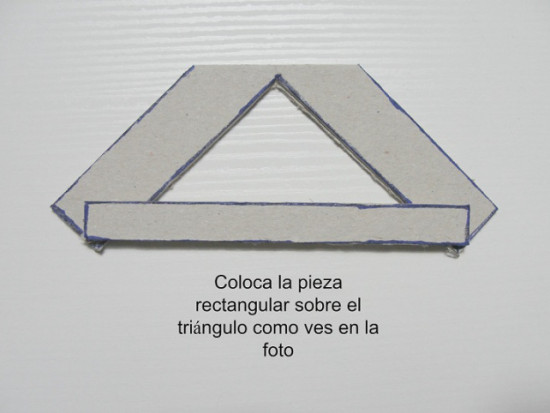
Open the sheet so it’s flat, and lay the 1/2″ ruler template against the last fold and score.
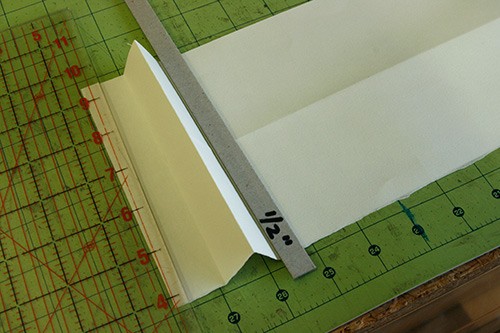
Fold up to make a valley fold.

Cut a slit, along the horizontal fold you made in the first step, between the 1st and 3rd folds. To do this, I use my awl to poke a hole at the beginning and end of where I want to make the cut. The second hole tells me where to stop cutting, so I don’t over-shoot. When cutting, I try to focus on that second hole, rather than along the straight-edge. (I learned this technique and invaluable lesson about focusing on the second hole from a class I took years ago with Claire Van Vliet.)
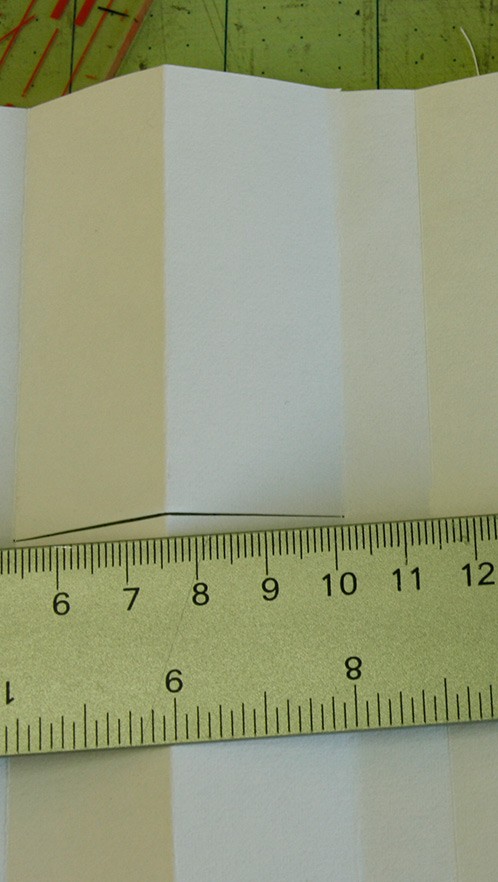
You can cut after all the folds are made, but I found that cutting as I’m measuring and folding made for fewer mistakes.
Fold the right edge of paper to the left, along the last fold you made.
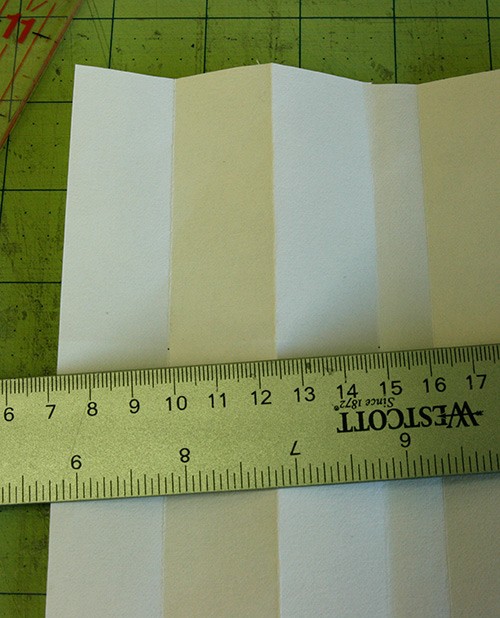
If you fold everything up again and turn the paper over, it should look like this:
Make 2 more accordion folds, using the previous folds as a guide.
Open the sheet, and using the 1/2″ ruler template, score and fold at the right edge of the template. Make the horizontal cut over the last mountain fold (between folds 4 and 6).

Keep repeating the previous 3 steps (accordion fold twice, score and fold using the 1/2″ template, cut over the mountain fold) until you run out of paper.
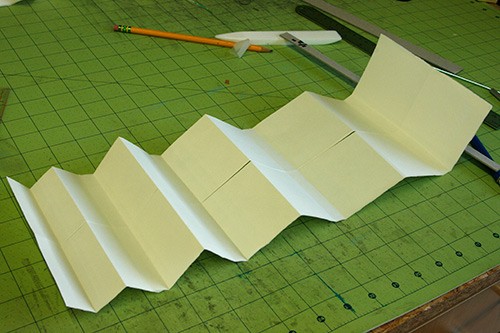
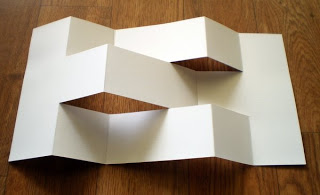
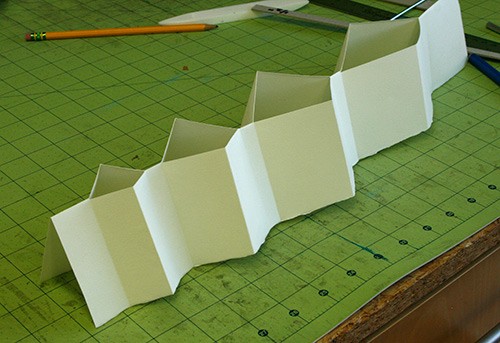
Your paper should have folds and cuts like this:
Fold the paper in half, long edge to long edge.
One at a time, push the larger bones toward the smaller ones, from left to right. You are pushing the mountain folds to the left.
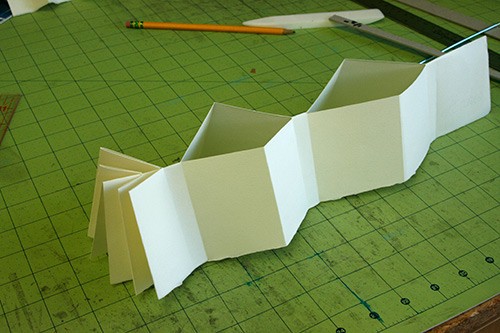
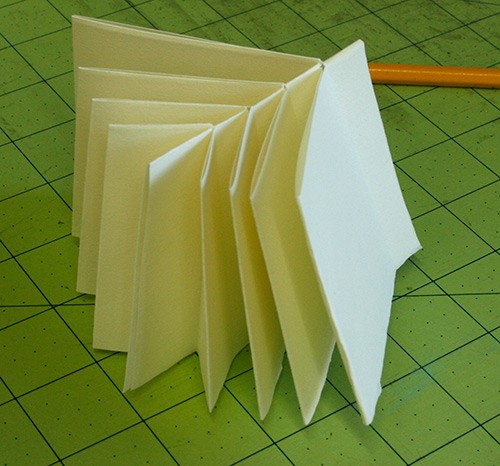
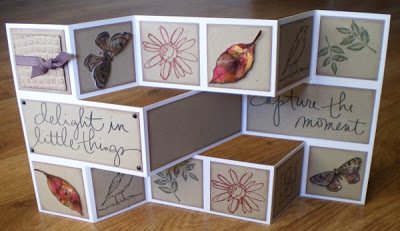
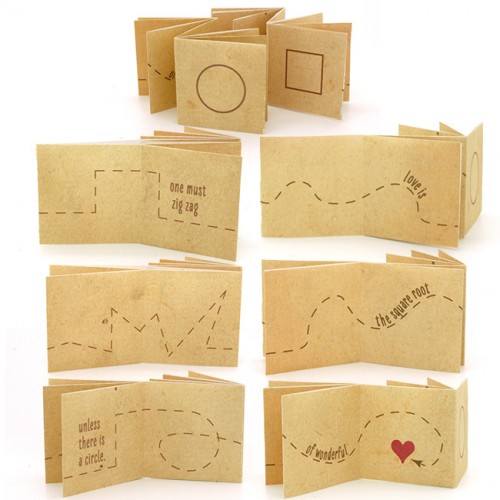
Here it is all folded. See the previous post for ideas for making a cover.