Making an Edition, Part 3 — the signatures

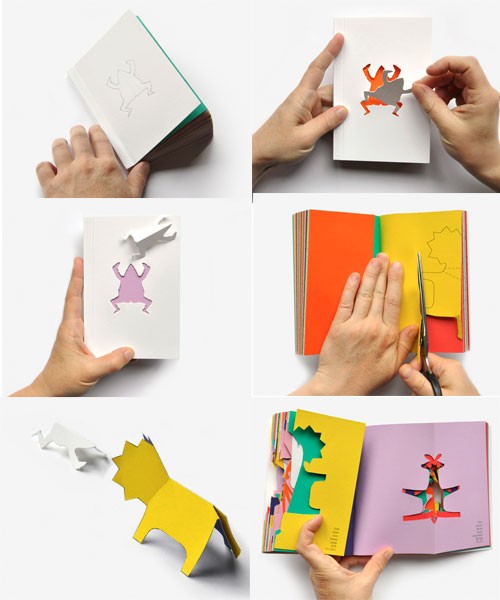
I’ve finished letterpress printing my book, trimmed & folded the pages, and sewn the signatures. The paper is thick enough that I had to use 2 signatures (but only one sewing — see this neat trick here). I’ve printed enough pages for an edition of 30, knowing that I’ll really only get 25 and a display copy or two, when all is said and done. I’ve already cut one signature too short and another page got a smudge on it that I can’t remove, so I’m down to 28. Here’s the pile of signatures, all neatly sewn…

A pile of text blocks

Making an Edition, Part 2 — Printing the text

summer-type.jpg
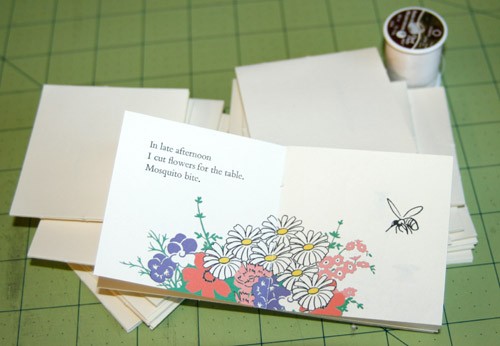
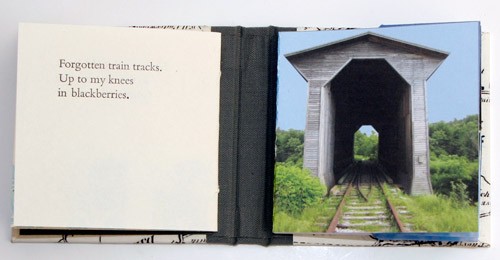
I’m in the middle of hand-setting the haiku for my current book production. I’m printing the pages 2-up. There’s 7 haiku, the title page and the colophon (that’s the title page and colophon all laid out in the photo to the left). Not really very much type, but it’s required a lot of concentration. I get one chance to get the spelling right, and notice if, for instance, I used the wrong space width between words. When I print text from photopolymer, which I set on the computer in InDesign or Illustrator, it seems I have a lot more time to check myself before getting the plates made — not to mention the spell checker!

Making an Edition, Part 1

Model of book and slipcaseI liked the model I’ve been playing with recently and have decided to make an edition of that book. It’s a miniature — slightly under 3″x3″ — called “Summer in Vermont,” with some of my haiku and illustrations and a Turkish map fold at the end. I’m printing the drawings on my Epson ink jet, but will be letterpress printing the haiku from metal type (Bembo). It’ll come in a slip case — that’s my working model on the left, showing the book coming out of the slip case.
The next big decision is how many to make. Since I’m hand-setting the type it’ll be more difficult to increase the number in the edition once the type is broken down. Twenty-five seems to be a good number, but I’ll print enough for 30 in case something goes wrong!
Over the next couple of weeks I’ll report how the edition making is proceeding.

Binding in a Mapfold

I’ve been wanting to incorporate the turkish map fold into one more book structure — how would I bind it into a book with a text block? The first book class I took, with Kumi Korf, made a book with a shadowbox at the end. I used what I learned in that class to make my book Haiku. So I went back to that book to see if it gave me any ideas for. I particularly liked that the last “page” of the book was related to the contents of the shadowbox. Unfortunately the spine construction wasn’t exactly what I was looking for. I made a few models and decided to use a spine that would accommodate the text block on the left side and the mapfold on the right. Here’s the model, so you can see the spine. On the left is a piece of folded cardstock that holds the mapfold — a picture of the bridge on the outside opens up to a photo of the inside of the bridge — see the second picture below.

summer-open-model.jpg

summer-map-model.jpg

Another Map Fold Book

I recently found another variation for making a book with the turkish map fold. This one is from Michelle Wilson. She’s made the fold (instructions here) and folded it in half, to form a spine, and then she’s sewn it into a folded piece of paper. This method lets you exploit the hidden folds. Wilson says ‘The text winds between the main pages and a set of “secret pages” between the folds, creating a narrative about what is seen and unseen, remembered and forgotten.’ One of the “secret pages” is shown in the second photo below.

Michelle Wilson’s Unearthed

Michelle Wilson’s Unearthed