These instructions are for making a print with bleeding tissue paper and preparing the result for the display windows in the Gallery Book explained here.
What’s you’ll need:
- Bleeding tissue paper (make sure it says “bleeding” on the label. I found my online, as my local craft stores didn’t carry this type of tissue paper.)
- Piece of 8-1/2″ x 11″ paper. Water color paper works really well.
- Spray bottle full of water
- Waste sheet so what’s under the paper doesn’t get wet
- Xacto knife or scissors
- Picture template from the Gallery Book Instructions
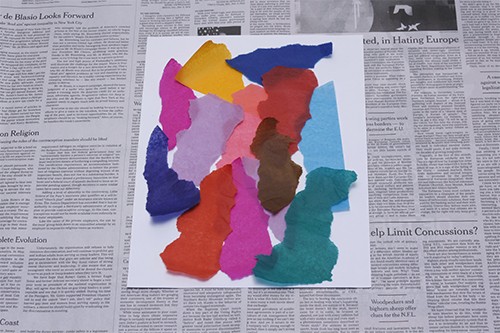
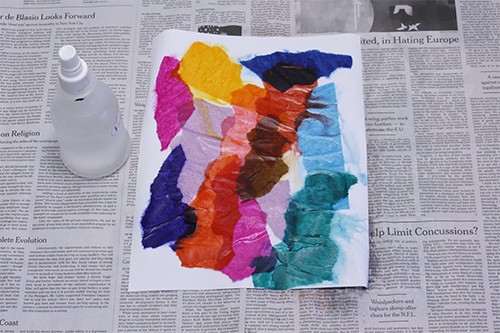
Place torn up tissue paper on the paper and spray with water.
The more water you spray on, the more diluted your colors will be.
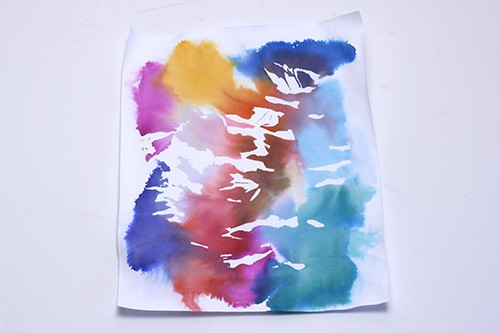
Let the project dry completely then peel off the tissue paper.
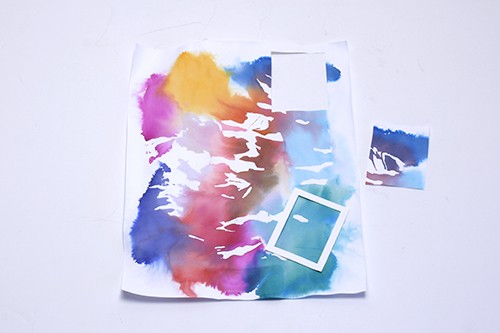
For the Gallery Book, you’ll need to cut 9 rectangles (2-1/8″ x 2-3/4″) from the tissue paper print. Use the picture template from the Gallery Book Instructions to determine where you’d like to cut. Below, I’ve placed the template on in the upper right.

This picture shows the first rectangle cut out. Repeat for the other 8 pictures you’ll need to complete the Gallery Book.